Wednesday, March 30, 2011

The Greatest Flubber Race

Casa Maria’s Creative Learning Zone

Flubber is one of those exciting sensory experiences that young children fall in love with immediately. Through numerous play experiences the children discovered how flubber stretches, molds, drips and breaks apart.

While the children were playing one day, a child placed some flubber inside a funnel and watched it drip down slowly. He exclaimed “you won’t believe this, look it’s dripping down” the other children sat beside him and giggled as they saw the pink flubber drip. Everybody wanted their own container after that… We decided to conduct a science experiment and see which container will allow the flubber to drip faster. We named it “The Greatest Flubber Race”.

With that said the whole classroom got busy searching for the perfect container. We decided to hang it up high. The containers stayed up for five days. They eventually dried really hard and never broke off from their containers.

9728_102314109784190_100000168033136_60939_6148730_n[1]

9728_102314113117523_100000168033136_60940_4328039_n[1]

9728_102314116450856_100000168033136_60941_6613294_n[1]

9728_102314136450854_100000168033136_60947_2169851_n[1]


9728_102314123117522_100000168033136_60943_6093677_n[1]

9728_102314133117521_100000168033136_60946_6676714_n[1]

Our final observations are:

1. Flubber placed in the fruit basket dripped the fastest and they looked just like Spaghetti Noodles.

2. Flubber placed in the funnel dripped the longest in length.

3. Flubber placed in the Kleenex box dripped the slowest.

4. Flubber placed in the green wire basket dripped the thickest.

Flubber Recipe :

1. Mix 2 cups water and 1 ½ cups Elmers glue in a big bowl.

2. Add a squirt of liquid water color and then stir it up.

3. In a separate small bowl mix together: 2 cups water and 4 TBS Borax.

4. After it’s completely dissolved, pour the Borax mixture slowly and a little at a time into the glue and water mixture. Pour a little, mix it a little, pour a little, mix a little. Mix with your hands or a sturdy wooden spoon. As you mix, it will become a flubber ball! NOTE: You might NOT need to use all this Borax Solution!!!!!

5. Store it in an airtight container or ziploc for a few weeks. When it begins to flick apart or when it gets too hard, it is time to make a new batch! Play with it, explore it, try to get it to blow a bubble with a straw! Watch it stretch as you hold it!

6. Vinegar takes it out of clothes, carpet and fabric. Mayo will take it out of hair.

Shared with you by Lisa Murphy the ooey gooey lady®
www.ooeygooey.com

Tuesday, March 22, 2011

Tie Dyed Gumballs

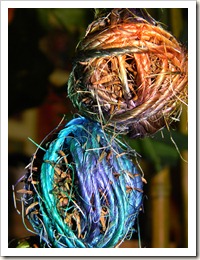
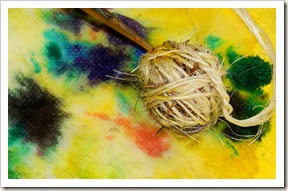
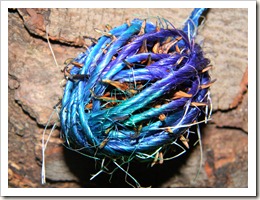
You can tie dye mostly anything and there really are no rules to follow and most importantly no mistakes to make. Instead of using real dye we chose to use liquid watercolors for this project.

6

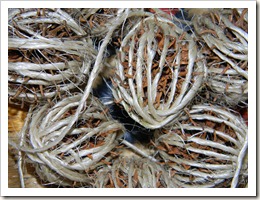
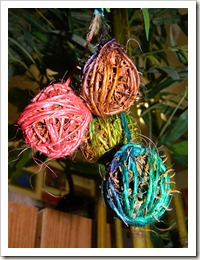
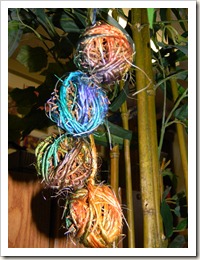
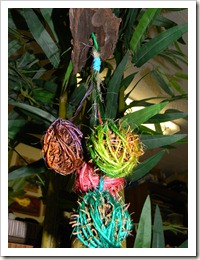
Wrap Gumballs with Natural Twine- Several days before encourage the children to wrap twine around the gumballs. It might be difficult for the younger child; you might want to help them with this part of the project.

DSCN6814

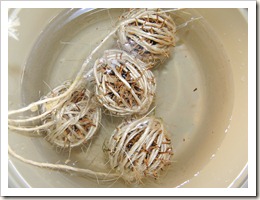
Wet Gumballs-There is several ways to do this DIP or SPRAY... I prefer the dip method; submerge balls in water for about a minute or two. Although it can be messy, it’s more effective rather than spraying with a bottle.

Pick up twine and lay it on top of a paper towel just enough to absorb water that has gone into the holes. I would say that a minute should do it.

DSCN6173

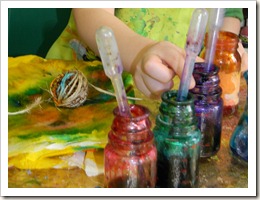
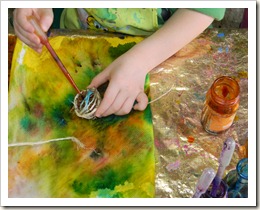
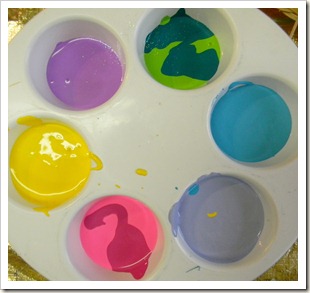
Set up Liquid Watercolors- Arrange liquid watercolors in a way that the child can easily pick out their color choices. I like using a Lazy Susan because the child can spin it around to find the perfect color needed.

It is best to put a pipette in each paint individual container, as it helps with accidents and spills. I personally like using small glass jars with this kind of paint, one gets to admire the beautiful and vibrant colors better.

DSCN6176

Tie Dyeing Balls- If twine is too dry you will not get the tie dye effect!

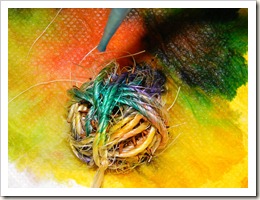
Encourage the child to squirt different colors of paint all over the gumballs. When the child is happy with the effect, lay out on top of paper towels to dry. It might take a day or two.

DSCN6144

DSCN6175

DSCN6153

DSCN6183

This is why tie dye is great. You just can’t make a mistake...

DSCN6192

DSCN6198

DSCN6201

DSCN6208

1

3

4

8

Please do not throw your colorful paper towels away; you could use them for art projects at a later time. They are great for collages!

Art By: Casa Maria’s Creative Learning Zone

Friday, March 18, 2011

Gumball Sculptures ( Project 1)
 

Astonishing is the right word for this art work…

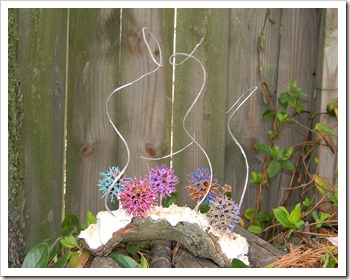
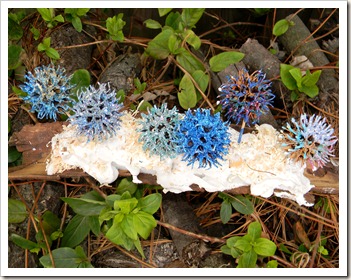
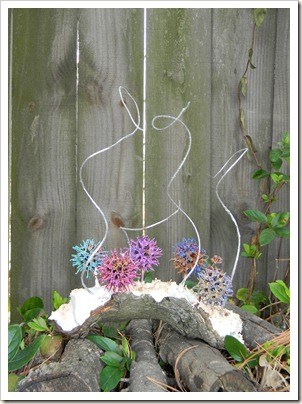
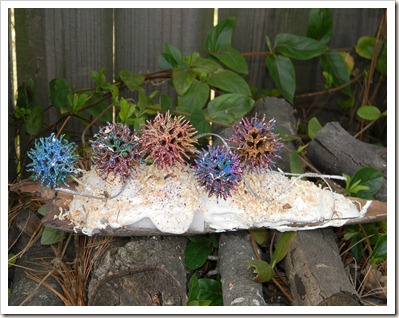
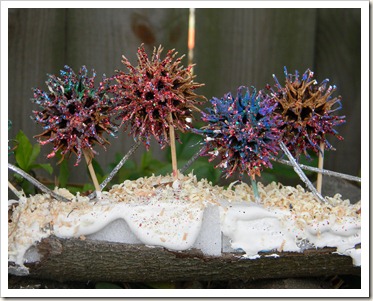
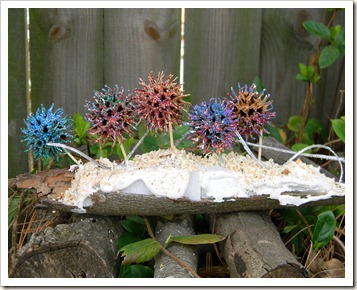
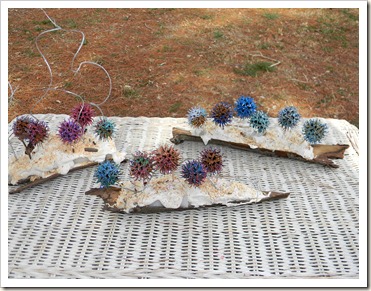
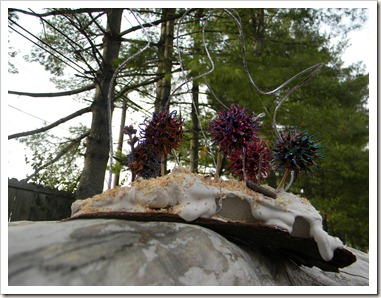
The children’s arrangements focused on using BARK gathered from the tress around the backyard. The best time to take bark from downed trees is in the springtime. Please do not strip bark off of live trees because this will cause them to die.

To make this project, take a piece of bark and trim the edges to desired size.

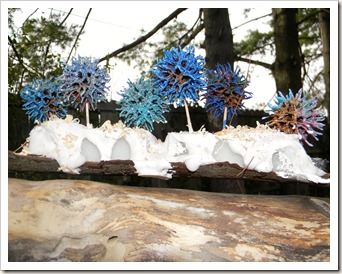
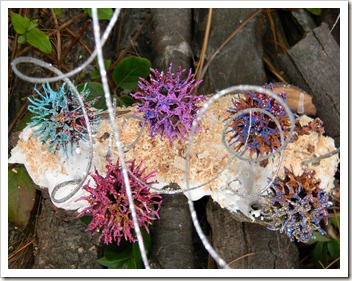
Glue pieces of Styrofoam into bark and have the child arrange candied gumballs by poking the toothpick into the foam.

Mix some plaster (please do not let child do this, for adult use only). Pour over Styrofoam to cover.

Quickly sprinkle dirt, wood shavings, dried grass and any other material over wet plaster.

Set out to dry.


DSCN5972


DSCN5983


DSCN5974


DSCN5986


DSCN5991


DSCN5994


DSCN5996


DSCN5999


DSCN6002


DSCN6016


Art By:

Casa Maria’s Creative Learning Zone

Thursday, March 17, 2011

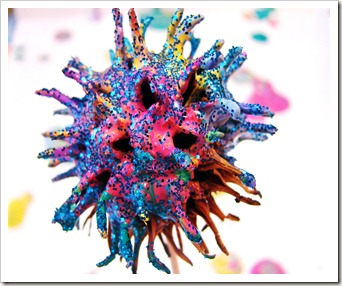
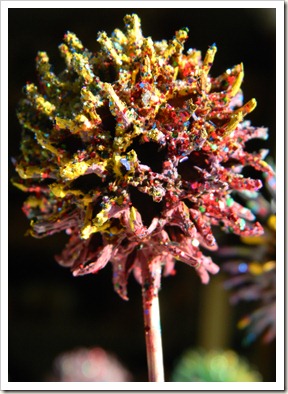
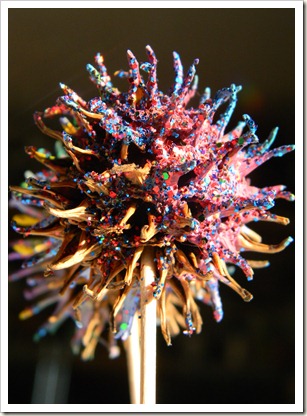
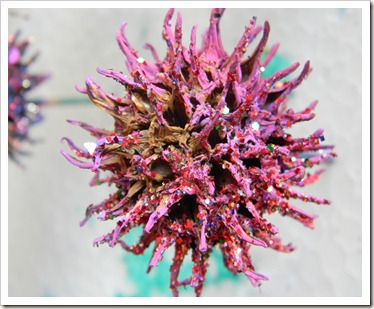
Candied Gumballs

When art projects unexpectedly come out from nature which they have increasingly done in our school, the result is often delightfully, and engaging. I love using items from our environment as it promotes creativity and is totally fun! I consider the natural world as the physical setting for ART. “Natural world” need not necessarily mean the untamed jungle, for me it means my BACKYARD and NEIGHBORHOOD.

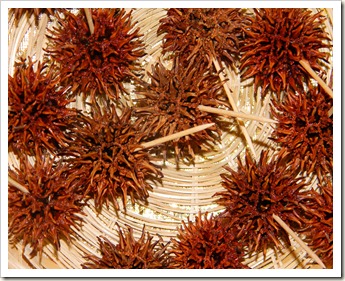
My neighbors SWEET GUM TREES have inspired us into creating a explosion of unique ideas. We have been finding new ways of converting them into unique art pieces. My next few postings and blogs will be dedicated to these beautiful and strange looking seed pods that we so dearly love.

The children, parents and I have been amazed at what we have been able to do with all of them. I hope that you are able to bring this in your classrooms…your children will LOVE making CANDIED GUMBALLS!

How to Make Candied Gumballs.

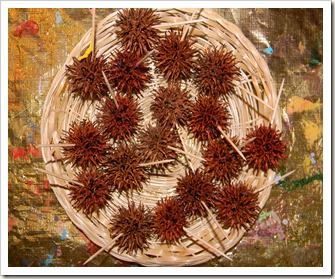
Preparing Gumballs- Brush dirt off and make sure gumballs are completely dry. Poke a toothpick in it as it will make it easier to grip and dry. You might want to wear some garden gloves for this.

DSCN5530

DSCN5531

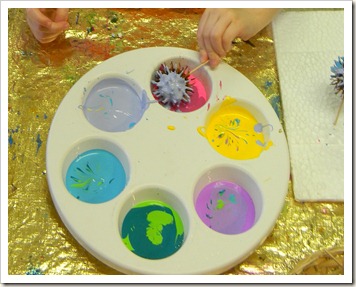
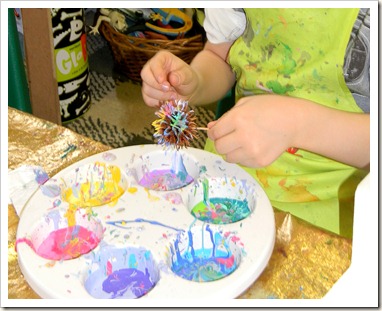
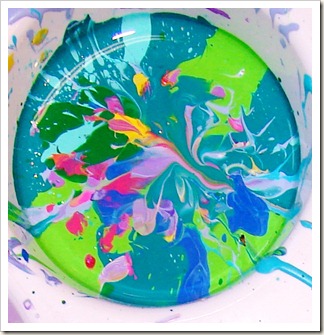
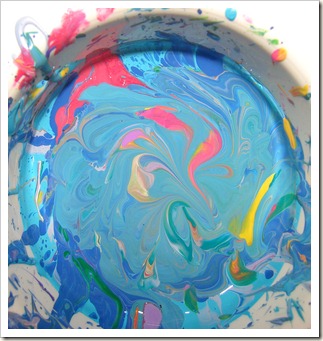
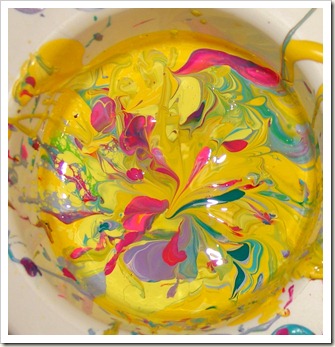
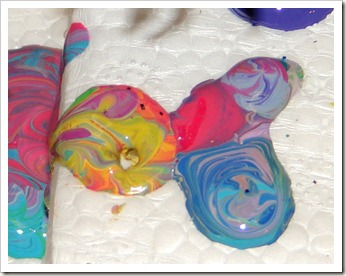
Select paint colors- You can use any kind of container; we choose a muffin pan because it was wide and deep enough to fit one gumball. Encourage the children to squeeze or scoop paint into the different compartments; we used different shades of paint to create a marble effect.

It is best to stir very gently with a tooth pick as not to mix the colors all together. For our first project we choose to use Acrylic paints.

DSCN5532

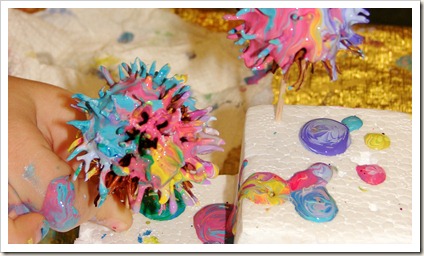
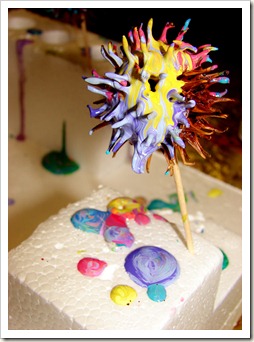
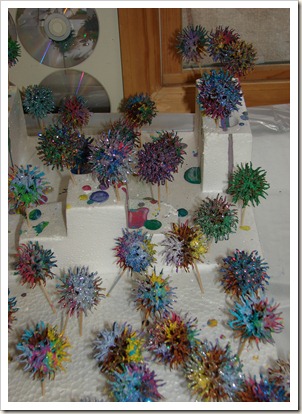
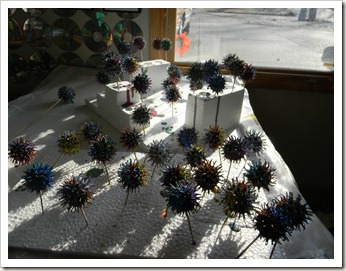
Arrange Drying Zone- Have your drying zone close by because your paints are surely going to be dripping all over. A Styrofoam piece worked really great for us because the children were able to poke the gumballs into the foam for drying.

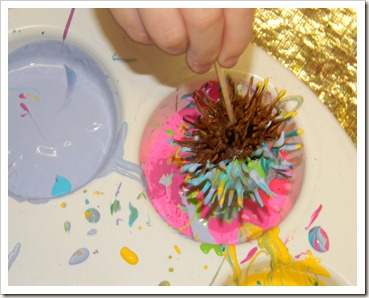
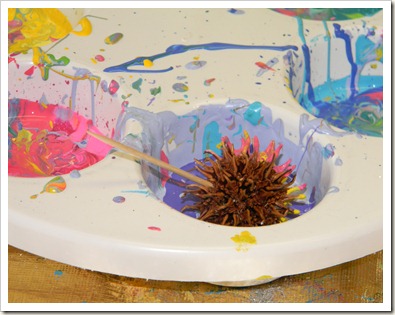
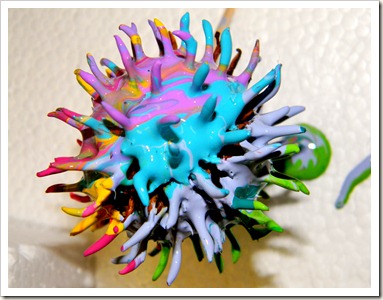
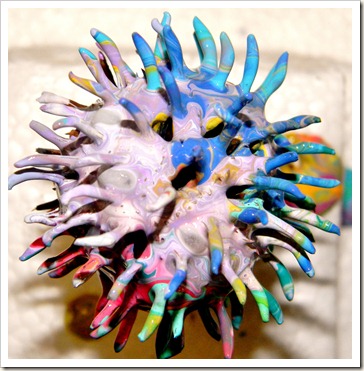
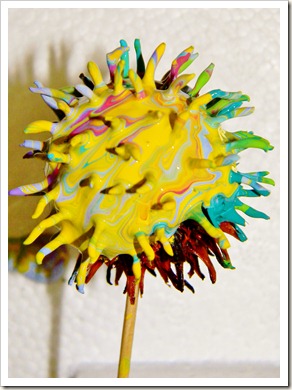
Dipping Gumballs- Encourage a child to pick a gumball and dip it into the paint without swirling. Repeat the process until it has been covered with the desired amount and colors.

DSCN5535

DSCN5542

DSCN5610

DSCN5614 (2)

Paints will eventually mix, please try not to stir.

DSC08493

DSC08495

DSC08497

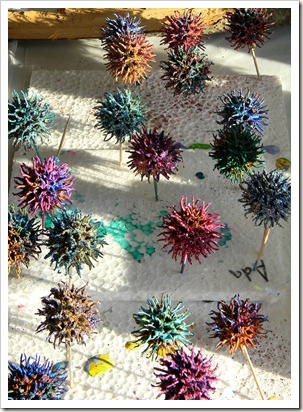
Drying Gumballs- Poke the toothpick holding the gumball into the Styrofoam and let paint drip dry.

DSC08504

DSC08513

DSC08505

DSCN5546

DSCN5580

DSCN5548

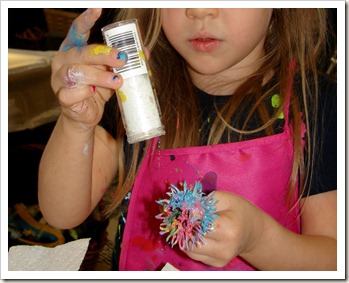
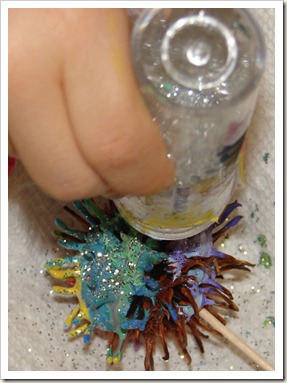
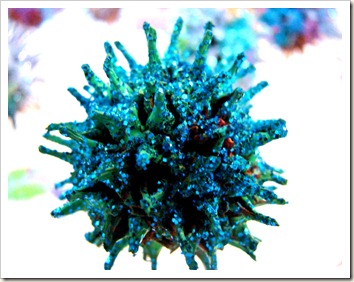
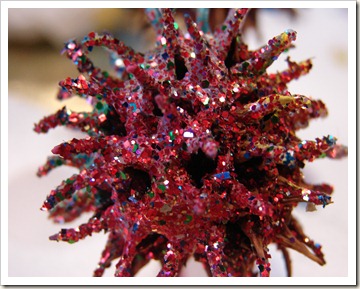
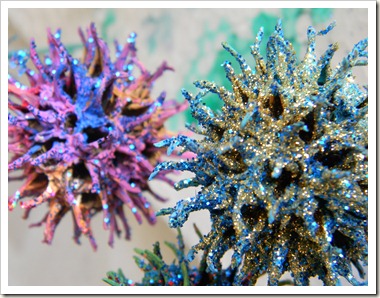
Add Glitter- If the children want to add a few creative touches, you can gather up different colors of glitter for them to sprinkle. Once again, imagination is key; your children might come up with some other way to add pizzas to the gumballs.

DSC08510

DSC08489

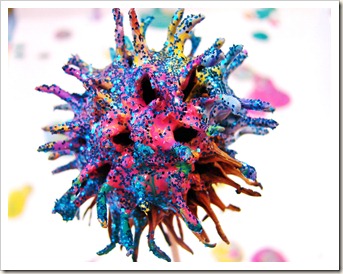
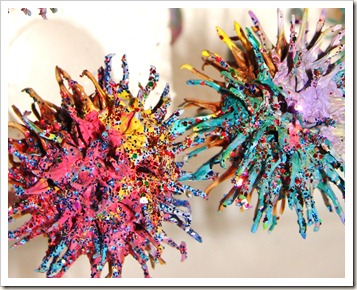
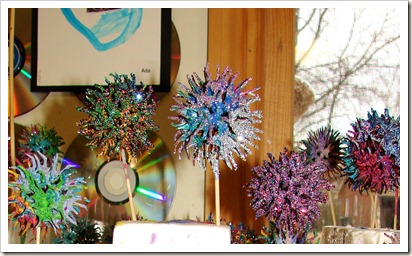
Time to Admire all the Different Candied Gumballs!

DSC08524

DSC08529

DSC08537

DSC08520

DSC08543

DSCN5676

sparkly 1 (1)

spaekly 2 (4)

sparkly 1 (2)

sparkly 1 (3)

sparkly 3 (3)

sparkly 3 (4)

spaekly 2 (1)

DSCN5652

Original Art Idea

by: Casa Maria's Creative Learning Zone